
Overview: What are we talking about?
This video shows how to add an edit a Calendar Page.
This articles includes:
Add a Calendar Page
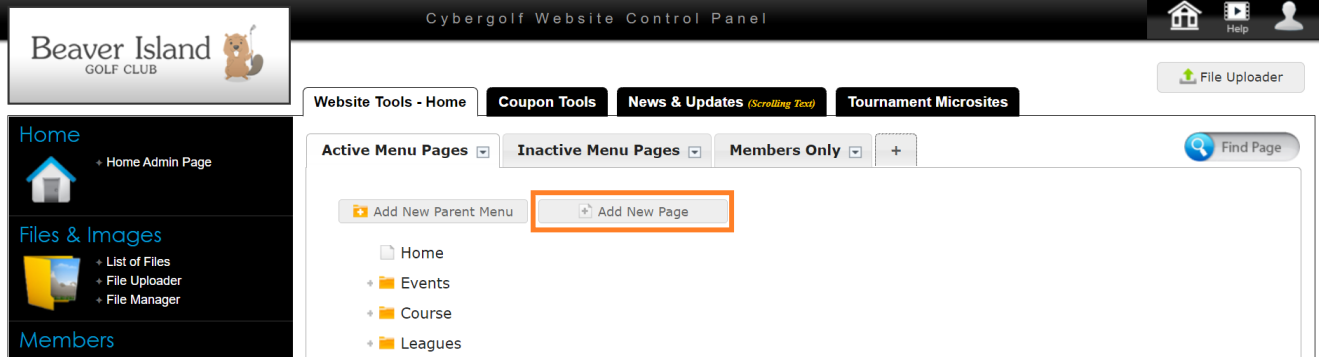
- From your home Admin page, click Add New Page.
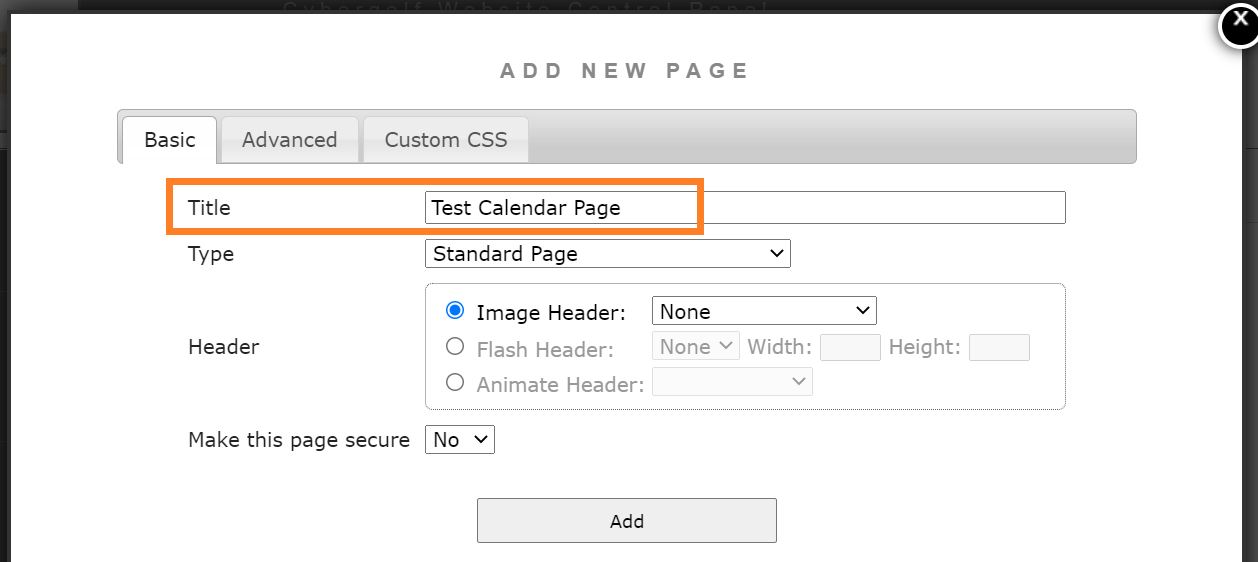
- In the Title field, enter a page title.
- From the Type dropdown menu, select Calendar of Event.
- There are two different calendar events listed, in case you have two different calendars that you want to set up. For example, having both a public-facing and a member-facing calendar.
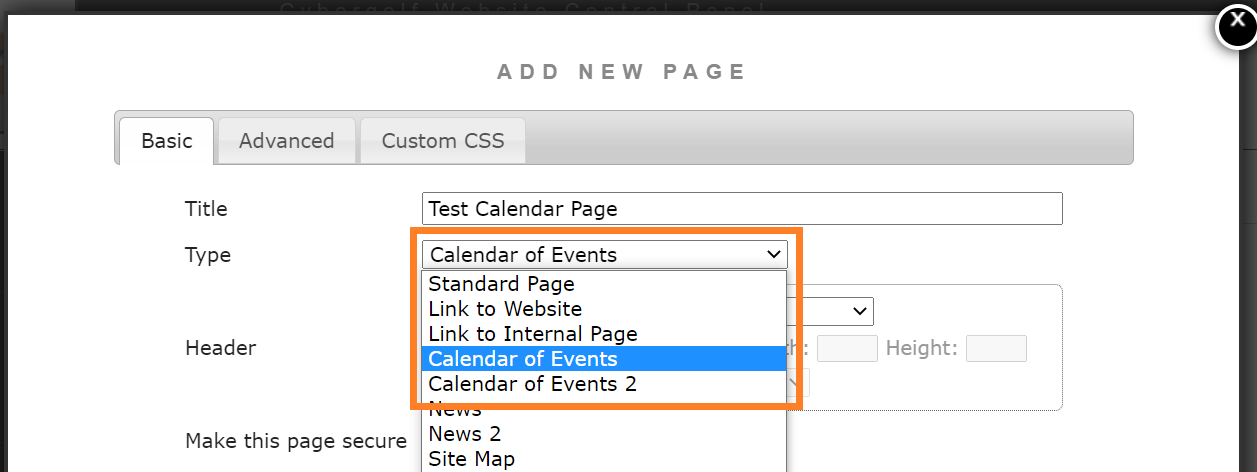
- There are two different calendar events listed, in case you have two different calendars that you want to set up. For example, having both a public-facing and a member-facing calendar.
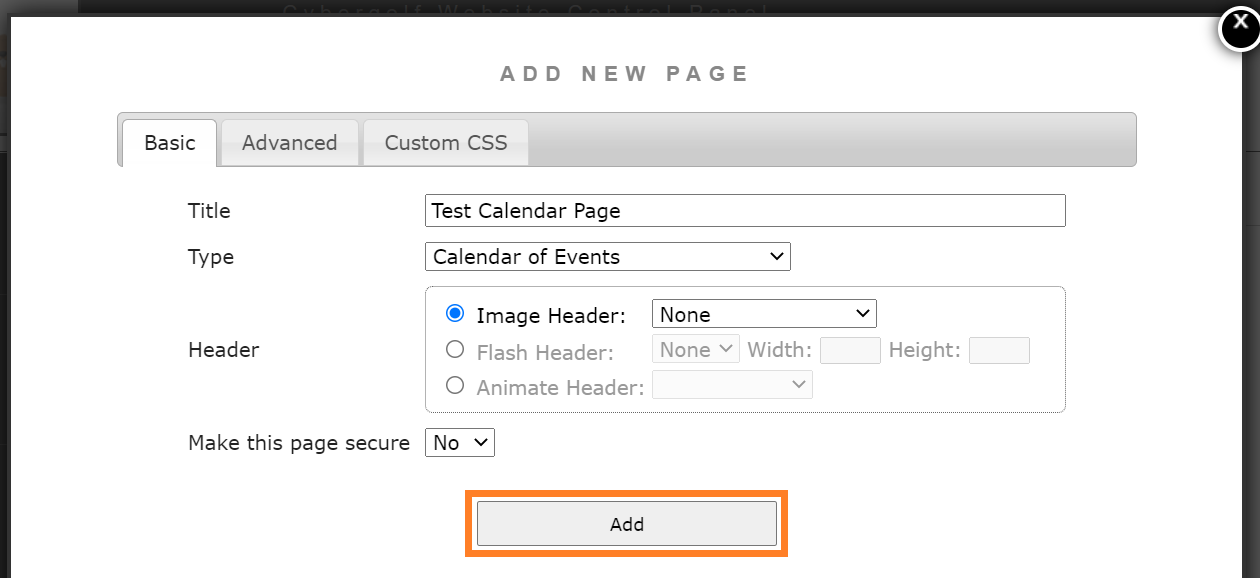
- Click Add.
- It should say "New Page Created." Then close the pop-up window.

- You should see your new page at the bottom of the list.
Edit a Calendar Page
To add an event to a calendar page:
- From your home Admin page, on the Website Tools - Home tab, find and click on your calendar page.
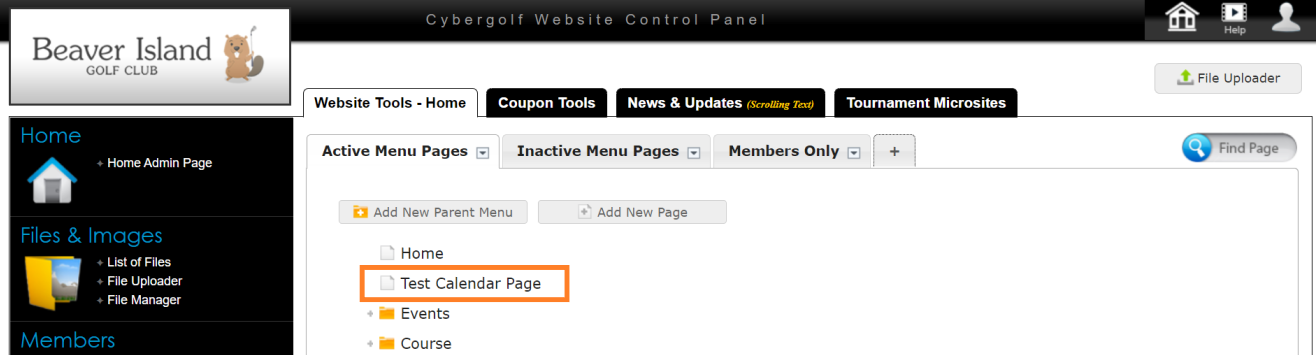
- A new screen will appear. From the dropdown menus, select that date of the event you want to add. Then click Go.

- Click +Add New Event.

- From the Type dropdown menu, select the frequency of the event.
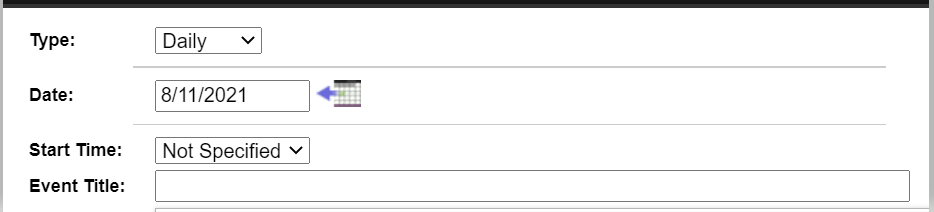
- In the Date field, confirm the date of the event.
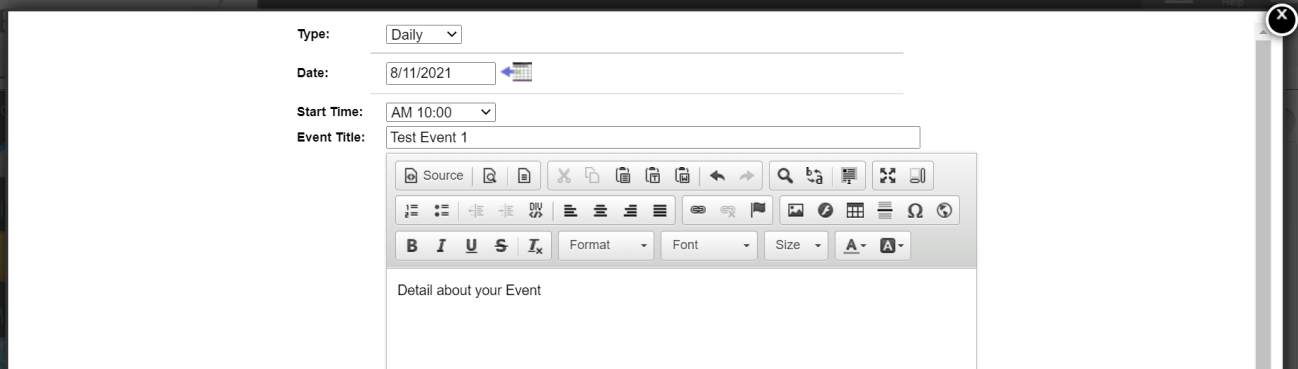
- From the Start Time dropdown menu, select the start time of the event.
- In the Title field, enter an event title.
- You can enter information about the event in the HTML editor. For details on using the editor, see Website HTML Basics.
- In the Highlight and Font Color fields, you can set a background and font color. The default settings are a white background black font.
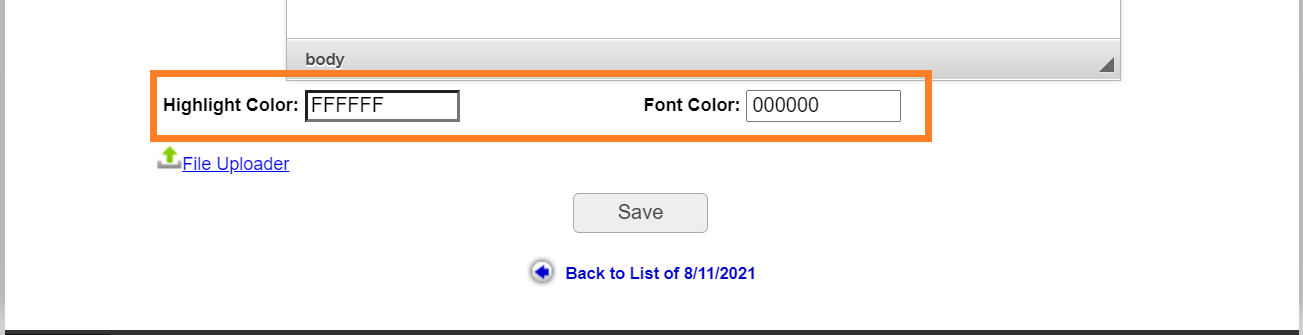
- When finished, click Save.

- It should say "1 New Event Added" at the top. Then close the pop-up window.

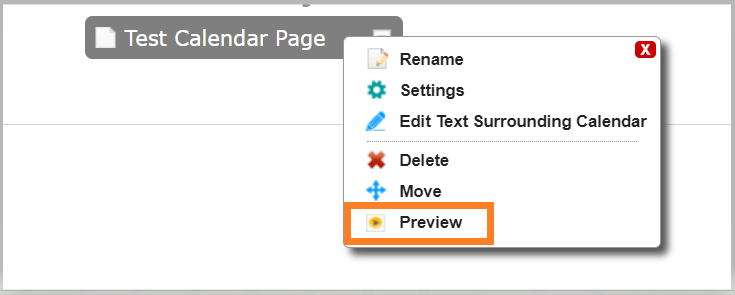
- From the list, right click the calendar page title and select Preview to preview the page.
- To edit or remove an event:
- Click the calendar page title.
- Use the arrows at the top to scroll to the month of the event you wish to edit.
- Then click Edit or Delete.

Video Tutorial
Comments
0 comments
Article is closed for comments.